Top search terms
Home
/
Automotive Replacement Parts
/
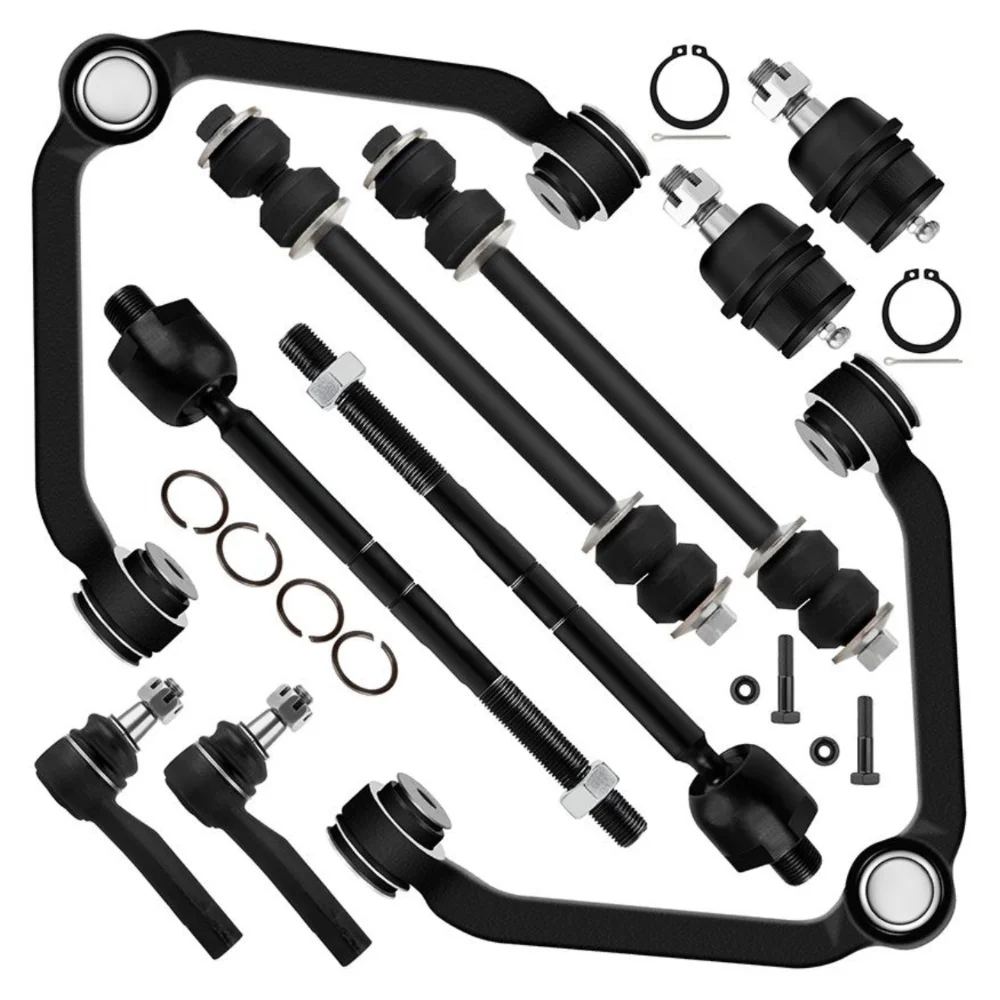
Teledu 10x Front Sway Bars Control Arms Ball Joints For Ford Mazda Mercury Suspension
Teledu 10x Front Sway Bars Control Arms Ball Joints For Ford Mazda Mercury Suspension
294 sold
Quantity
-
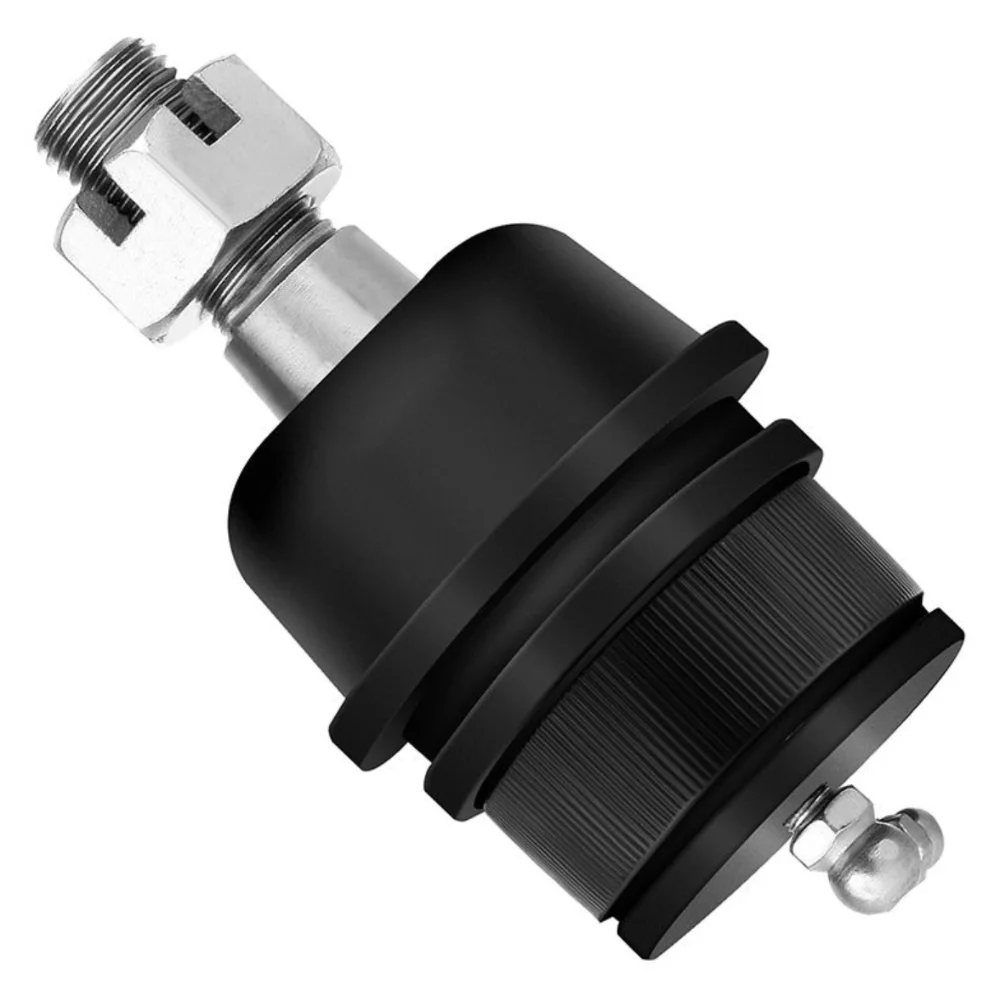
Detail2.Spray fastening nuts of the stabilizer link with rust remover and let act for a few minutes3.Loosen the lower fastening nut of the stabilizer link at the stabilizer and removeTip:If the ball stud also starts to turn, hold it with a suitable tool4.Press stabilizer link out of torsion bar5.Loosen the upper fastening nut of the stabilizer link at the suspension strut and remove it6.Press stabilizer link at suspension strut out of bracket7.Insert new stabilizer link at suspension strut8.Tighten stabilizer link at suspension strut to the tightening torque specified by the vehicle manufacturerTip:Secure the ball stud against twisting with a suitable tool9.Insert new stabilizer link at stabilizer10.Tighten stabilizer link at stabilizer to the tightening torque specified by the vehicle manufacturer11.Remount the front wheels. Lower the vehicle and tighten the wheel studs to the tightening torque specified by the vehicle manufacturerTip:Even if replacing the stabilizer link does not directly affect the chassis setting, we recommend checking the axle setting and adjusting if necessary after working on the suspension12.Conclude with a test driveTie-Rod End Replacement Guideline:This useful tip applies to the exchange of tie rod ends and inner tie rods, which together form the so-called tie rodNote: Cleanliness is extremely important when working on the power steering. Incorrect work and contamination can lead to leakage and, in the worst case, to failure of the steering assistance1.Lift the vehicle and dismount the front axle wheels2.Spray the fastening nut of the tie rod end with rust remover and leave it on for a few minutes3.Dismount the front underride guard4.Loosen the fastening nut from the tie rod and remove it completely5.Remove the tie rod end from the steering knuckle using an appropriate ball joint separator6.Remove the clamp of the bellow on the steering gear7.Push the bellow towards the tie rod end8.Unscrew the inner tie rod from the rack9.Clean the sealing face of the bellow at the steering gear10.Clean the lug of the rubber contact surface of the ball joint in the steering knuckleNote:Always use new self-locking nuts and bolts for a reliable repair11.Screw the new inner tie rod into the rack and tighten it with the tightening torque that has been specified by the vehicle manufacturer12.Mount the bellow and close the clamps with the appropriate special toolNote:Incorrect mounting of the bellow can lead to corrosion of the rack: the steering gear starts leaking which can lead to a failure in the steering assistance13.Secure the ball joint in the steering knuckle and mount the nut. Please observe the tightening torque suggested by the vehicle manufacturerNote:During mounting, the ball stud should not turn within the ball joint. This can cause damage inside the ball joint and can lead to early failure14.Mount the front underride guard15.Mount the front wheels and tighten them with the tightening torque recommended by the vehicle manufacturer16.Align the wheels and adjust them if necessary. Observe the vehicle manufacturer specifications17.Perform a test driveFrequently Asked Questions(1).Do I need to replace the control arm if the bushings are worn?(2).What happens if a ball joint breaks?When a ball joint breaks, you will hear a mysterious noise inside your car wheelYour car tire will wear-out since your alignment will be broken, and you will feel the car getting out of controlIf the ball joint breaks completely, it can be separated, and things can turn sour quickly. The wheel will stop being nice and can even steer you off the road. It can be serious Brand: Unbrand Manufacturer Part Number: E80167202CP Interchange Part Number: K8695T K7275 K80068 EV317 ES3461 K8708T Placement on Vehicle: Front, Left, Right, Upper Surface Finish: Premium Quality Greasable or Sealed: Greasable Superseded Part Number: Front Driver and Passenger Side Replacement Custom Bundle: Yes Bundle Description: Ball Joint,Sway Bar,Tie Rod End,Control Arm Type: Control Arm & Ball Joint Assembly Features: Greasable OE/OEM Part Number: Suspension Control Arms and Ball Joints Assembly,Tie Rod Ends Material: Alloy Steel Manufacturer Warranty: 10 Year Mounting Style: Bolt-On Universal Fitment: No Cotter Pin Hole: Yes Control Arm Construction: Forged Adjustable: Yes Kit Included: 10 Pieces
-
Customer ReviewsNo comments


